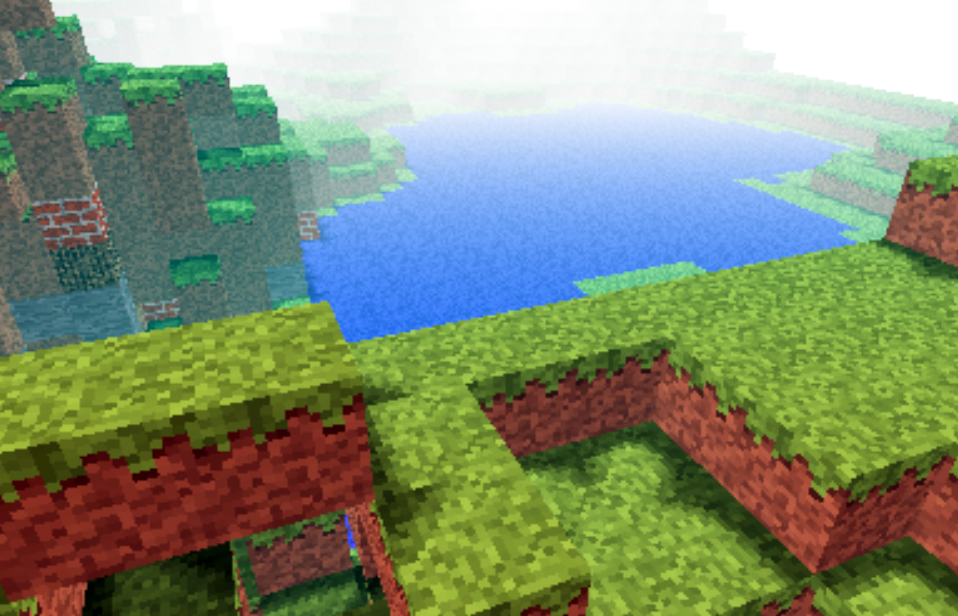
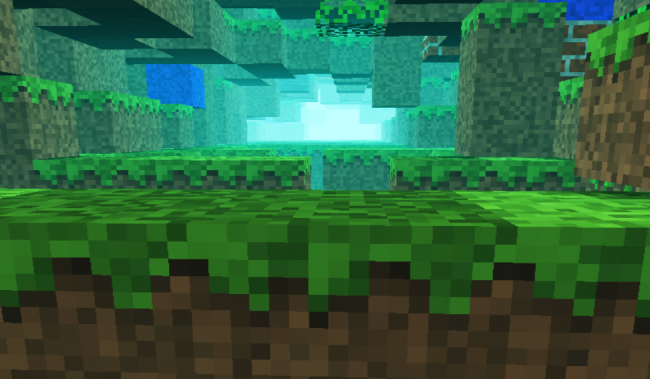
Recently i was involved in a few different commercial projects, was toying with Golang, the shiny new language from Google and made some small snippets to test the language capability (i put them in my gist repository). In conclusion i somehow completely missed the creative coding. I had a few ideas and conceptions which i wanted to realize at an earlier or later stage. One of them was to adapt Notch minecraft renderer to be used in combination with perlin or simplex noise for generating random rendering maps.
For that reason i ported to Javascript the original perlin noise algorithm written in Java. You can find the code here: https://gist.github.com/esimov/586a439f53f62f67083e. I won't go into much details of how the perlin noise algorithm is working, if you are interested you can find a well explained paper here: http://webstaff.itn.liu.se/~stegu/simplexnoise/simplexnoise.pdf.
As a starting point I put together a small experiment creating randomly generated perlin noise maps, and testing the granularity and dispersion of randomly selected seeding points to see how much they can be customized to create different noise patterns. I'm honest, actually these maps are not 100% randomly distributed, although they can be randomly seeded too, but for our scope I used a pretty neat algorithm for uniform granularity:
// Seeded random number generator
function seed(x) {
    x = (x<<13) ^ x;
    return ( 1.0 - ( (x * (x * x * 15731 + 789221) + 1376312589) & 0x7fffffff) / 1073741824.0);
}
And here is the working example:
See the Pen Perlin metaball by Endre Simo (@esimov) on CodePen.
The question that may arise: why should we need the perlin noise "thing" to generate different minecraft styled procedural terrain map? By generating randomly distributed noise we can further adjust the color mapping, then extract some of the areas above or below to certain values, which at a later state we can combine or even integrate into the core map generation logic. If you look at the alchemy behind the code responsible for programatically generating the terrain blocks, you will soon realize that we have all the ingredients (by manipulating some pixels here and there) to integrate the noise map into the block generation algorithm.
In InitMap function we populate the map array with some initial values, then at a later stage after we generate the noise map, we extract the data as follows:
for (var cell = 0; cell < pixels.length; cell += 4) {
    var ii = Math.floor(cell/4);
    var x = ii % canvasWidth;
    var y = Math.floor(ii / canvasWidth);
    var xx = 123 + x * .02;
    var yy = 324 + y * .02;

    var value = Math.floor((perlin.noise(xx,yy,1))*256);
    pixels[cell] = pixels[cell + 1] = pixels[cell + 2] = value;
    pixels[cell + 3] = 255; // alpha.
}
then we go through the pixels data, setting up the condition on which data should be processed. In our actual case if the pixel color extracted is below to some certain value (this values are actually values extracted from the perlin noise map) then we set the map data to 0. This is why the perlin noise seed granularity is important. As smoother the transition between points is, as subtle would be the map generated.
if ((pixelCol & 0xff * 0.48) < (64 - y) << 2) {
    map[i] = 0;
}
This is the basic logic for generating random minecraft terrain. We can even adjust the seed offset in perlin noise script to generate different patterns, however in my experiment seems that this doesn't matter to much.
The rendering engine is based on notch code, however i made some optimization adding some fake shadows and distance fog, creating a more ambiental environment.
This is the code which creates the distance fog effect:
var r = ((col >> 16) & 0xff) * br * ddist / (255 * 255);
var g = ((col >> 8) & 0xff) * br * ddist / (255 * 255);
var b = ((col) & 0xff) * br * ddist / (255 * 255);

if(ddist <= 155) r += 155-ddist;
if(ddist <= 255) g += 255-ddist;
if(ddist <= 255) b += 255-ddist;

pixels[(x + y * w) * 4 + 0] = r;
pixels[(x + y * w) * 4 + 1] = g;
pixels[(x + y * w) * 4 + 2] = b;
Playing with values i discovered that actually i can "move the camera around the scene" (actually here we have a fictive camera, meaning that not the camera is moving around scene, but the objects are projected around some fictive coordinates), so it was quite easy to get the mouse position and adjust the camera relative to the mouse position, this way including some user interaction into the scene.
Version 2
Even tough the desired effect pretty much satisfied my expectations, something was really missing from the original version: it was not possible to generate randomly seeded terrain maps and also the generated map was pretty much the same. So I have extended the first version with random map generation, replaced the Perlin noise generator with the simplex noise, added fake shadow and fog to give the feeling of depth and on top of these i have also included a control panel to play with the values. This is how it came out:

The source code can be found on my Github page:
https://github.com/esimov/minecraft.js
